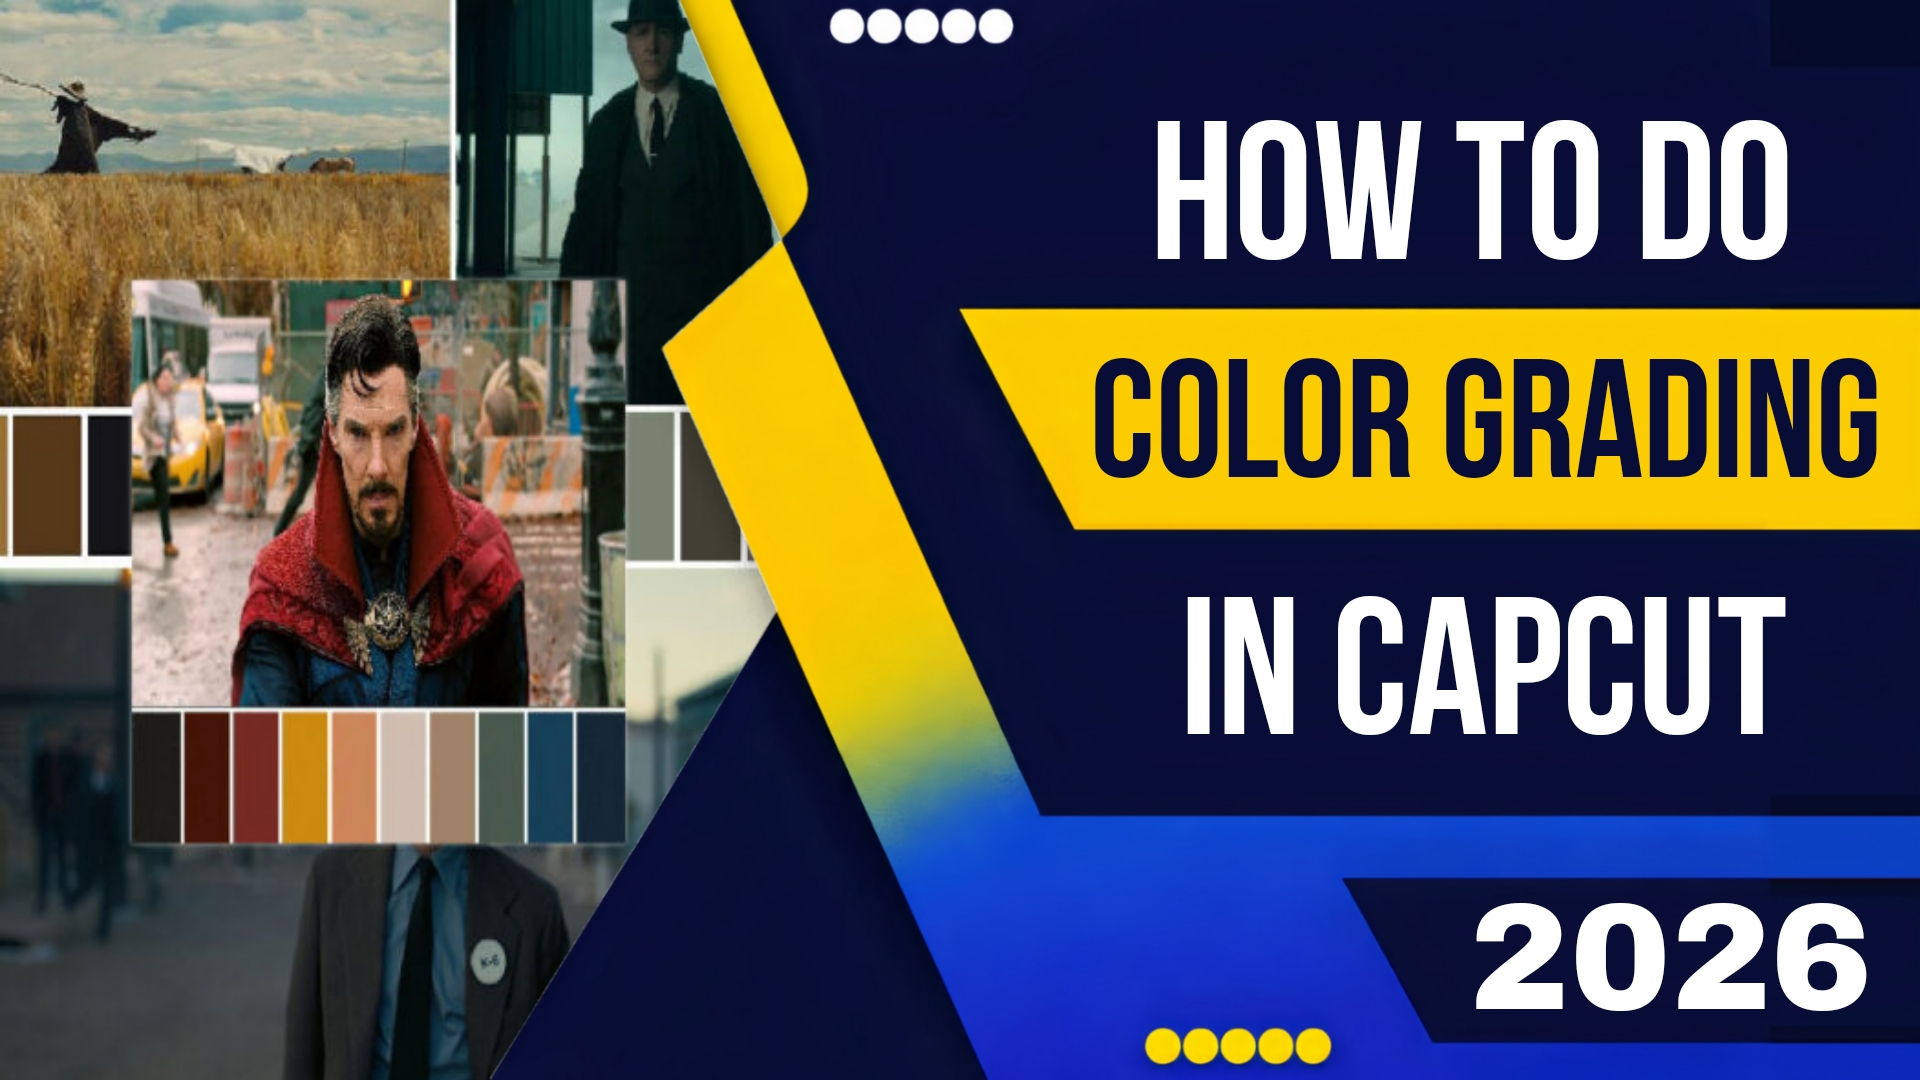
How to Do Colour Grading in CapCut 2026
In the fast-paced world of content creation, visual aesthetics are everything. Whether you are a TikTok trendsetter, a YouTube vlogger, or a professional marketing manager, the color palette of your video dictates its emotional impact. However, in 2026, audiences expect cinematic quality, but creators don’t always have the time for frame-by-frame color correction.
Enter CapCut. As the go-to video editing app for the mobile-first generation (and a powerhouse on desktop), CapCut has revolutionized the editing workflow. The biggest game-changer this year is the platform’s advanced AI capabilities. Specifically, the demand for speed has led to the rise of the “One Click” solution.
If you have been searching for How to Do Colour Grading in CapCut Video in One Click 2026, you have come to the right place. Gone are the days of fiddling with curves and hue sliders for hours. Today, we are diving deep into the AI-powered tools that allow you to apply professional, stylized color grades instantly.
The Evolution of Color Grading
To understand the “One Click” revolution of 2026, we must look back. Traditional color grading required an understanding of color wheels, scopes, and complementary colors. It was a skill that took years to master.
CapCut disrupted this by introducing “Filters,” but filters were often destructive—they simply laid a tint over the image, crushing shadows and blowing out highlights.
In 2026, Colour Grading in CapCut Video is different. It is scene-aware. The AI analyzes your footage, identifies the subject, the lighting conditions, and the depth of field. When you apply a “One Click” grade now, you aren’t just slapping on a filter; you are instructing the AI to apply a complex Look Up Table (LUT) or adjustment layer that respects the integrity of the original image.
Prerequisites: Before You Click
Before we get to the magic button, ensure your foundation is solid. Even the best AI in 2026 struggles with poorly exposed footage.
-
Shoot in Log or Flat Profile: If your camera (or phone) allows it, shoot in a flat color profile. This preserves the highlights and shadows, giving the AI more data to work with.
-
Update CapCut: The “One Click” features rely on the latest AI models (CapCut AI Suite 4.0). Ensure your app is updated to the 2026 version.
-
Stabilize First: Color grading should usually be one of the final steps. Have your sequence cut and stabilized before applying your look.
The “Auto-Grade” Feature (The True One Click)
This is the closest you will get to magic. In the 2026 update, CapCut introduced a neural engine that watches your video and makes instant corrections.
Step-by-Step:
-
Import Your Clip: Load your footage onto the timeline.
-
Select the Clip: Tap on the video layer you want to grade.
-
Navigate to Adjustment: Scroll along the bottom toolbar until you find the “Adjust” button (usually represented by a dial or a slider icon).
-
Find the Sparkle: Look for a small icon that resembles a sparkle or a magic wand. In the 2026 version, this is labeled “Auto Grade” or “AI Match.”
-
Tap It: That’s it. The AI will instantly analyze the clip. It balances the whites, recovers shadows, and tonemaps the highlights.
Why it works in 2026: Unlike older auto-exposure tools, this AI recognizes context. If you have a clip of a person standing in the snow, it won’t try to make the snow gray; it knows snow should be bright and will expose for the face while keeping the winter ambiance.
The “LUT Recommender” (The Stylized One Click)
Sometimes “correct” isn’t what you want. You want a mood teal and orange for a blockbuster feel, or desaturated vintage for a nostalgic vibe. In 2026, finding the right LUT (Look Up Table) is as easy as describing your video.
Step-by-Step:
-
Open the Colour Grading Panel: Tap on “Adjust” and then enter the “Colour” or “Grade” sub-menu.
-
Browse LUTs: CapCut has a massive library of built-in LUTs, categorized by mood (Horror, Summer, Vlog, Cinematic).
-
The One Click Hack: Instead of scrolling blindly, use the new “AI Preview” feature. Tap the “Recommend” button.
-
AI Analysis: The AI will scan your clip and display a horizontal carousel of 5-6 LUTs that it thinks will work best with your specific lighting and subject matter.
-
Tap to Apply: Simply tap the preview that catches your eye. It applies instantly.
This answers the query of How to Do Colour Grading in CapCut Video in One Click 2026 by letting the AI do the heavy lifting of selection for you.
The “Match Cut” Feature (Consistency in One Click)
If you are editing an interview or a vlog shot across multiple times of day, matching the color between clips is the biggest headache. Manually, you would have to copy and paste adjustments, but if the lighting changed, that doesn’t work.
Step-by-Step:
-
Grade Your Hero Shot: Manually (or using Auto-Grade) perfect the color on your best clip.
-
Select Target Clips: Highlight all the other clips on the timeline that need to match the hero shot.
-
Use Match Cut: Go to “Adjust” > “Match Cut” (or sometimes labeled “Color Copy”).
-
Select Reference: A split-screen will appear. Tap on the hero clip (the one you already graded).
-
Apply: Tap “Match.” The AI will analyze the lighting of the target clips and transpose the look of the hero clip onto them, adjusting for the different environments.
The “Ambience” AI (Creative One Click)
The 2026 update introduced “Ambience” effects. These are not just color grades; they are combined lighting effects.
Step-by-Step:
-
Tap on “Effects” > “Ambience.”
-
You will see options like “Golden Hour,” “Neon Noir,” “Soft Gloom.”
-
One Click Application: Tapping one of these does two things simultaneously: It applies a complex color grade and adds a generative lighting effect (like adding sun rays or fog) to match the color palette.
-
Adjust Intensity: After the one-click application, a slider appears allowing you to blend the effect from 0-100, ensuring it looks natural.
Pro Tips for 2026
To truly master How to Do Colour Grading in CapCut Video in One Click 2026, remember these nuances:
-
Skin Protection: The 2026 AI is trained on skin tones. If you apply a heavy teal grade, the AI will automatically mask the skin tones to keep them natural (unless you turn this feature off in the settings).
-
Export Settings: When you export, ensure you export at the highest bitrate. A great color grade can be ruined by heavy compression. CapCut 2026 now offers “Smart Export” which detects if you graded your video and retains the color data specifically for social media uploads.
-
The “Fade” Trick: After applying your one-click grade, go to “Curves” and slightly lift the bottom left corner of the RGB curve (the black point). This adds a subtle “film fade” that looks incredibly professional and is the signature look of 2026 cinematography.
Conclusion
The era of tedious manual color grading is fading. In 2026, the question is no longer how to grade, but what mood you want to set. CapCut has democratized high-end color science, putting it into the palm of your hand with a simple tap.
Whether you use the Auto Grade for correction, the AI LUT Recommender for style, or Match Cut for consistency, achieving a cinematic look has never been faster. By integrating these one-click workflows into your routine, you save hours of editing time while producing content that looks polished, professional, and perfectly tuned for the 2026 audience.
So, open CapCut, import your footage, and let the AI work its magic. Your next viral video is just one click away.